Fluid and irregular blob shapes are widely popular in web design these days. Such irregular shapes are used by designers in different ways.
Blob shapes are very trendy but they also serve another purpose. These shapes can be used as subtle background overlays and help enhance the readability of the website.
If your branding has curved borders and shapes, blobs are the perfect element to integrate into your web design.
In this article, I’ll show you how to create blob shapes in Elementor. I’ll also go through the different ways you can use blobs on your website.
Let’s get started.
What Are Blob Shapes?
Unless you’ve been living under a rock, you might have seen websites with irregular shapes.
A blob is simply an organic random shape. These shapes are mostly irregular and complex.
The use of blobs in web design is very common these days and you can see them being used in some way or the other.
Ian Latchmansingh article ‘2017: The Year of the Blob’ also inspired many web designers to use blobs in their designs.
Creating blobs is actually very simple. If you’re a designer, you can use tools like Adobe Photoshop or Illustrator to create blob shapes.
But to make it even easier, there are online tools that help you create blobs. These tools can help you define the size and complexity of your blob and then you can import the blob to your website.
Wondering how to do this in Elementor? Don’t worry. We’ve got a very simple way you can use to create blob shapes in Elementor without relying on any of the above tools mentioned.
How To Create Blob Shapes In Elementor?
We’ve been using blobs in Elementor for a long time and we came across several problems. If you’re using a tool for creating blobs, you must have come across these problems:
- You cannot change the shape of the blob once it’s uploaded to your website.
- Experimenting with blobs becomes time-consuming as you’d have to upload the blob SVG every time you create a new blob.
- Uploading SVGs in Elementor is itself trouble and your media library is full of SVGs where in fact you’re only using one of them.
We researched different ways to use blobs in Elementor without having to go through the trouble of uploading SVGs and created a perfect solution.
And here it is:
Use Blob Generator Widget from Designer Powerup for Elementor Plugin
We created our own blob generator widget that lets you create blobs inside Elementor.
With this widget, you can control the size and the complexity of your blob without the need of uploading SVGs or even writing custom CSS.
That’s pretty awesome!
Let me show you how you can do that:
Step 1. Download Designer Powerup for Elementor Plugin
Designer Powerup for Elementor is an Elementor add-on plugin that helps freelancers and design agencies who design websites at scale.
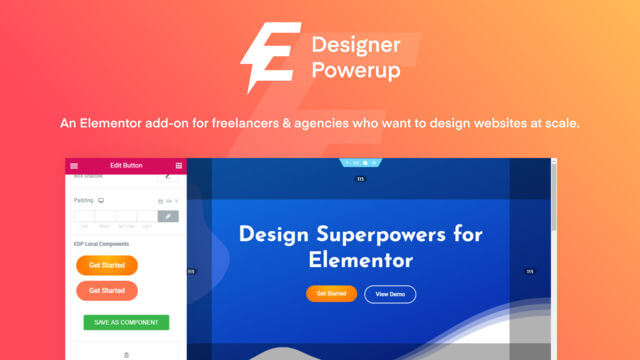
The plugin offers advanced design features that help you save time by achieving complex tasks without the need for custom CSS.
One of the features of this plugin is the blob generator widget. You can get the plugin here to start using this widget now.
Step 2. Add the blob generator widget
Once you have Designer Powerup for Elementor installed, search for the blob generator in your Elementor widgets and drag it to your page.
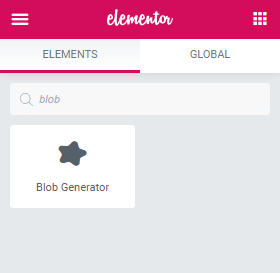
You can also find this widget by scrolling down the Elementor widgets.
Step 3. Customize the blob settings
Customize the size, complexity, and contrast of the blob. If you don’t know what these mean, here is a definition of each of these properties:
Complexity: Complexity refers to the number of points on the blob shape. The higher the complexity, the more complex will be the shape of the blob. The value of complexity ranges from 0 to 1.
Contrast: Contrast refers to the range of points on the blob. The higher the contrast, the more irregular the shape of the blob will be.
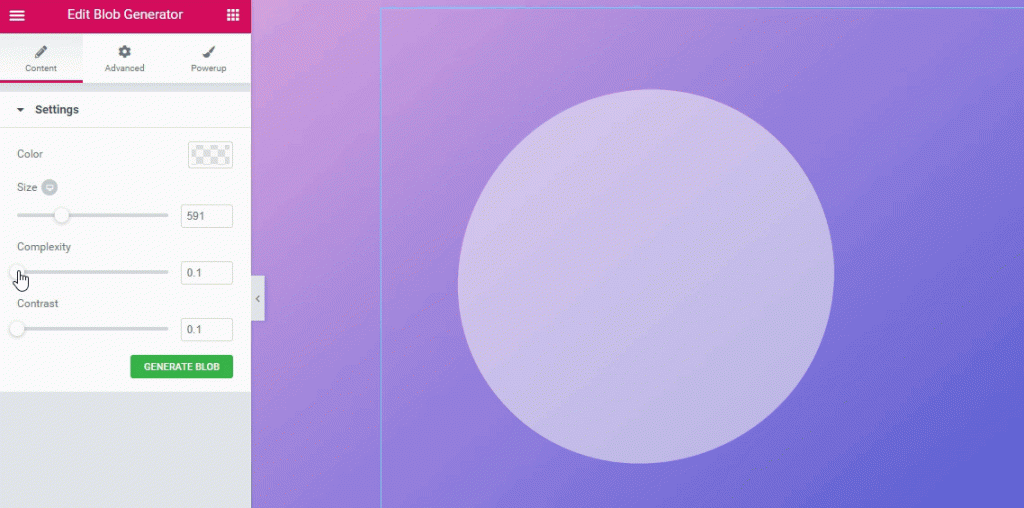
By customizing the complexity and contrast values, you can generate different types of shapes using the widget.
To generate the blob shape, click on the ‘Generate’ button and your blob shape will be generated.
This way, you can tweak the values of the shape and try out different shapes in a matter of seconds.
Step 4. Customize the blob shape
Once you’re done playing around with the shape of the blob, you can begin with the customization of the blob shape.
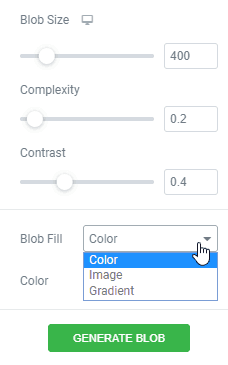
You can set apply a solid color, gradient, or an image to the blob shape.


Depending on how you’ll be using the blob, you can select the type of fill you want to choose for the blob.
Step 5. Place the blob at the right position
Now it’s time to place the blob in the right position.
If you are going to use the blob as a background in your section, you’ll have to use Elementor’s advanced positioning.
Select the blob widget and go to Advanced > Custom Positioning. Under the Position settings, select Absolute.
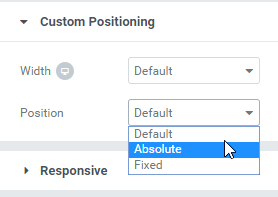
Now, you can move your blob freely around your page and place it anywhere you want. Use the horizontal and vertical offset values to place the blob exactly where you want it to be.
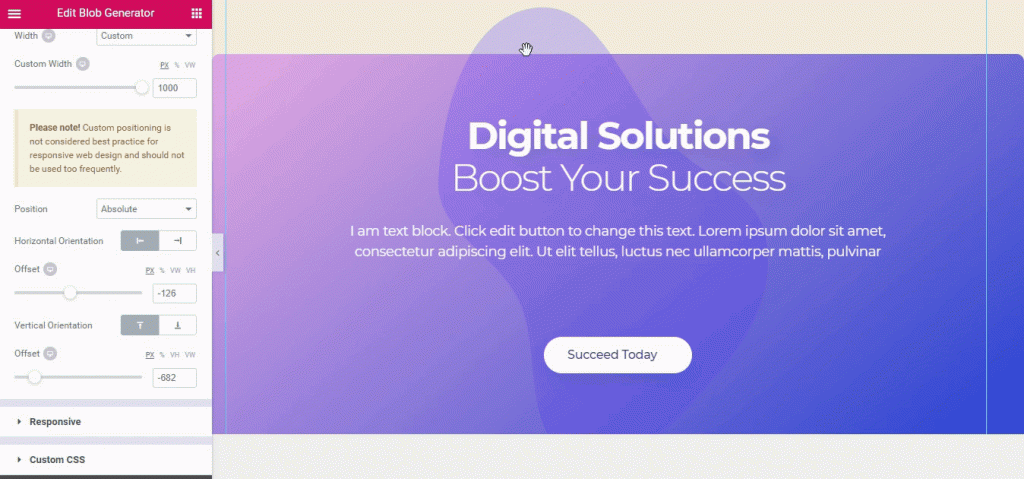
And that’s it. Creating blobs using Elementor Designer Powerup is that simple and fast.
As I mentioned above, there are online tools as well that let you generate blobs.
One such tool is Blobmaker.app. Our Blob widget is based on this tool.
Using the Blobmaker.app tool, you can create blobs in similar fashion.
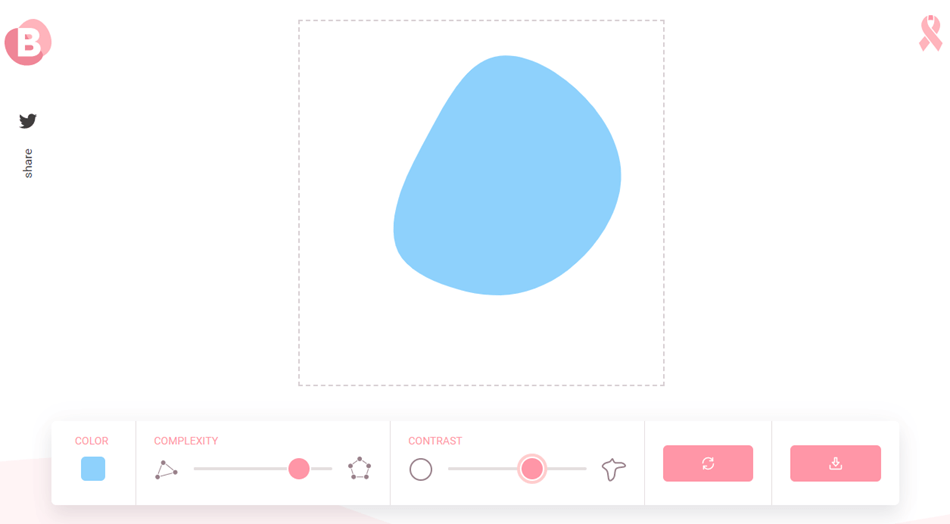
The only downside of using a tool like this is that you’d have to upload the SVG file of the blob every time you want to make changes to the blob shape.
This becomes very time consuming and inefficient.
Regardless of how you create blobs, you should know how to use it properly so that it looks appealing on the website.
But what if you have no idea how to use blobs on your website?
Well, don’t worry.
In the next section, we’ll take a look at some different ways you can use blobs to design your website.
3 Different Ways To Use Blobs In Elementor
Blobs can be used in very unique ways. And if you know these different ways to use blobs, you can get creative with your website design and make stunning pages.
Here are some ways you can use blobs in Elementor:
1. Backgrounds for Illustrations
Blobs can be used in many creative ways as backgrounds for illustrations. Take a look at this example:

You can cover one half of your hero section with a blob and add illustrations and photos on top of the blob.
Blobs are very popular for hero section backgrounds nowadays.
With our blob generator’s image fill, you can set an illustration image inside the blob.
There are many other subtle approaches for using blobs like the example shown below:

2. Make Your Icons Stand Out Using Blobs
Icons are very common but they all look plain if your icons are simple. You can make these icons stand out using blobs as shown below:
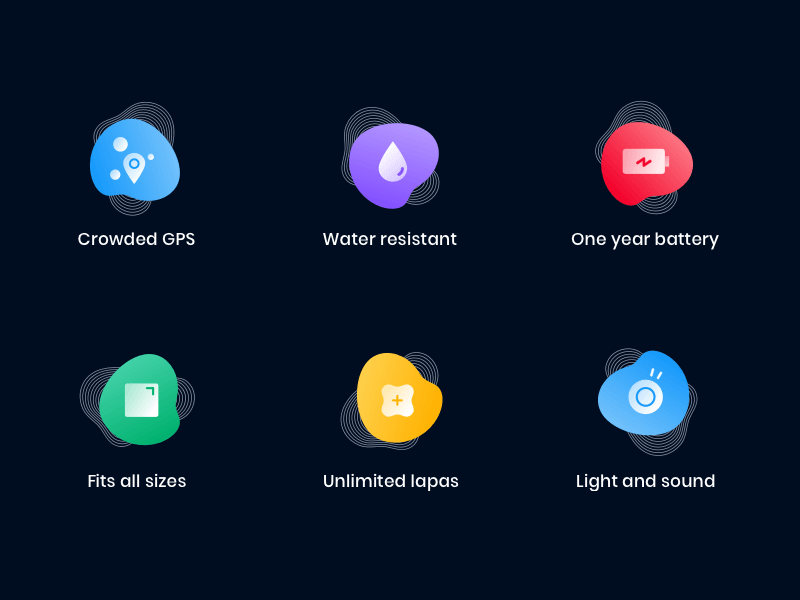 You can add small blobs behind your icons and make them pop out.
3. Text On Blobs
You can even present your text on blobs like this:

This is not very common but looks really great if done right. Text on blobs can be used on your website to display facts, numbers, or testimonials.
Here’s another method of using text over blobs which is quite different from the example above:

Conclusion
So, that’s all about how you can create blobs in Elementor. Blobs are trendy and can help make your design look more fun and modern.
But, keep in mind that you should use blobs only if they can be integrated into your branding properly.
If you have any questions about blobs and our blob generator widget, feel free to comment below.

2 Responses
Hi Ahmed, i just installed that blob widget and you tell that you can overlay text with the blob – just how do you do it? I want semi-translucent blobs over a background picture and text in that blob! Thank you very much! (my website is on localhost)
Kind regards,
Nicola
I found it out thanks!